Manual Installation Guide
Prerequisites
- Download supported base distribution of WSO2 API Manager, WSO2 Identity Server and WSO2 Open Healthcare Accelerator. Refer to the Product Compatibilities.
Product Compatibilities
| WSO2 Healthcare Accelerator | Compatible Base Product |
|---|---|
| APIM HC Accelerator 1.0.0 | APIM 4.2.0 |
| APIM HC Accelerator 2.0.0 | APIM 4.3.0 |
| APIM HC Accelerator 2.1.0 | APIM 4.6.0 |
| IS HC Accelerator 2.1.0 | IS 7.3.0 |
Getting Started
- Extract the base products.
- Extract the downloaded WSO2 Open Healthcare Accelerator zip files.
- This document uses the following placeholders to refer to the following products:
| Product | Placeholder |
|---|---|
| WSO2 Identity Server | <WSO2_IS_HOME> |
| WSO2 API Manager | <WSO2_APIM_HOME> |
| WSO2 Open Healthcare Identity Server Accelerator | <WSO2_OH_IS_ACC_HOME> |
| WSO2 Open Healthcare API Manager Accelerator | <WSO2_OH_APIM_ACC_HOME> |
Getting WSO2 Updates
The WSO2 Update tool delivers hotfixes and updates seamlessly on top of products as WSO2 Updates. They include improvements that are released by WSO2. You need to update the base products and accelerators using the relevant script.
- Go to <PRODUCT_HOME>/bin and run the WSO2 Update tool:
- Repeat this step for the WSO2 Identity Server and API Manager products.
- MacOS
- Linux
- Windows
$ ./update_tool_setup.sh
$ ./wso2update_darwin
$ ./update_tool_setup.sh
$ ./wso2update_linux
$ ./update_tool_setup.ps1
$ ./wso2update_windows.exe
For more information, see the WSO2 Updates documentation.
Setting up Accelerators
This section guides you to set up and prepare your server to run WSO2 Open Healthcare Accelerator.
Setting Up WSO2 API Manager for Healthcare
Install WSO2 Open Healthcare AM Accelerator
- Copy the extracted WSO2 OH APIM Accelerator to
<WSO2_APIM_HOME>. Let's call it<WSO2_OH_APIM_ACC_HOME>. - [Optional] Check the accelerator configurations in <WSO2_OH_APIM_ACC_HOME>/conf/config.toml file to enable or disable features.
Run the merge script in <WSO2_OH_APIM_ACC_HOME>/bin:
./merge.sh
- Copy the extracted WSO2 OH APIM Accelerator to
Setting Up WSO2 Identity Server for Healthcare
Install WSO2 Open Healthcare IS Accelerator
- Copy the extracted WSO2 OH IS Accelerator to
<WSO2_IS_HOME>. Let's call it<WSO2_OH_IS_ACC_HOME>. - [Optional] Check the accelerator configurations in <WSO2_OH_IS_ACC_HOME>/conf/config.toml file to enable or disable features.
Run the merge script in <WSO2_OH_IS_ACC_HOME>/bin:
./merge.sh
- Copy the extracted WSO2 OH IS Accelerator to
Accelerator configs looks like below;
| Setting Description | Configuration Option | Default Value |
|---|---|---|
| Enable or disable auto-generation of the FHIR capability statement | enable_fhir_metadata_endpoint | true |
| Enable or disable the well-known endpoint for OAuth 2.0 discovery | enable_well_known_endpoint | true |
| Enable or disable the SMART on FHIR features | enable_smart_on_fhir | true |
| Enable or disable developer sign-up and app creation approval | enable_developer_workflow | false |
| Enable or disable the healthcare theme | enable_healthcare_theme | true |
Running ./bin/merge.sh script creates a audit log folder in the product home. Structure of it looks like below;
hc-accelerator
├── backup
│   ├── conf
│   ├── jaggeryapps
│   └── webapps
└── merge_audit.log
merge_audit.logwill have an audit line per execution of themerge.shscript of the accelerator. Each line contains execution date and time, user account and the version of the accelerator. Example log line is below;
backupfolder contains the files that were originally there in the APIM product before running the accelerator. Please note that only the last state will be there.
Setting Up Integration Layer for Healthcare
Ballerina
Installation Steps
Go through the following steps to setup the Ballerina.
Follow the instructions in the Ballerina Installation Options to install Ballerina runtime.
Setup the Ballerina VSCode extension by following the instructions in the Ballerina VSCode Extension guide.
Exchanging the certificates
In order to enable secure communication, we need to install the certificates of each component in others. This will facilitate a Secure Socket Layer (SSL). Follow the steps below to implement this:
Here Server A can be either IS, APIM or any other product.
Generate a key against the keystore of a particular server. For example, server A with an alias and common name that is equal to the hostname.
keytool -genkey -alias <keystore_alias> -keyalg RSA -keysize 2048 -validity 3650 -keystore <keystore_path> -storepass <keystore_password> -keypass <key password> -nopromptExport the public certificate of the newly generated key pair.
keytool -export -alias <cert_alias> -file <certificate_path> -keystore <keystore path>Import the public cert of Server A to the client truststores of all the servers including Server A.
keytool -import -trustcacerts -alias <cert_alias> -file <certificate_path> -keystore <truststore_path> -storepass <keystore_password> -nopromptRepeat above steps for all the servers.
Start servers
Run the following command in <WSO2_IS_HOME>/bin:
./wso2server.shRun the following command in <WSO2_APIM_HOME>/bin:
./api-manager.sh
Configure IS as Key Manager
This section provides step-by-step instructions to configure WSO2 Identity Server 7.x as a Key Manager for WSO2 API Manager, enabling secure API access and management.
Sign in to the Admin Portal of API Manager at https://localhost:9443/admin.
Go to Key Managers on the left main menu.
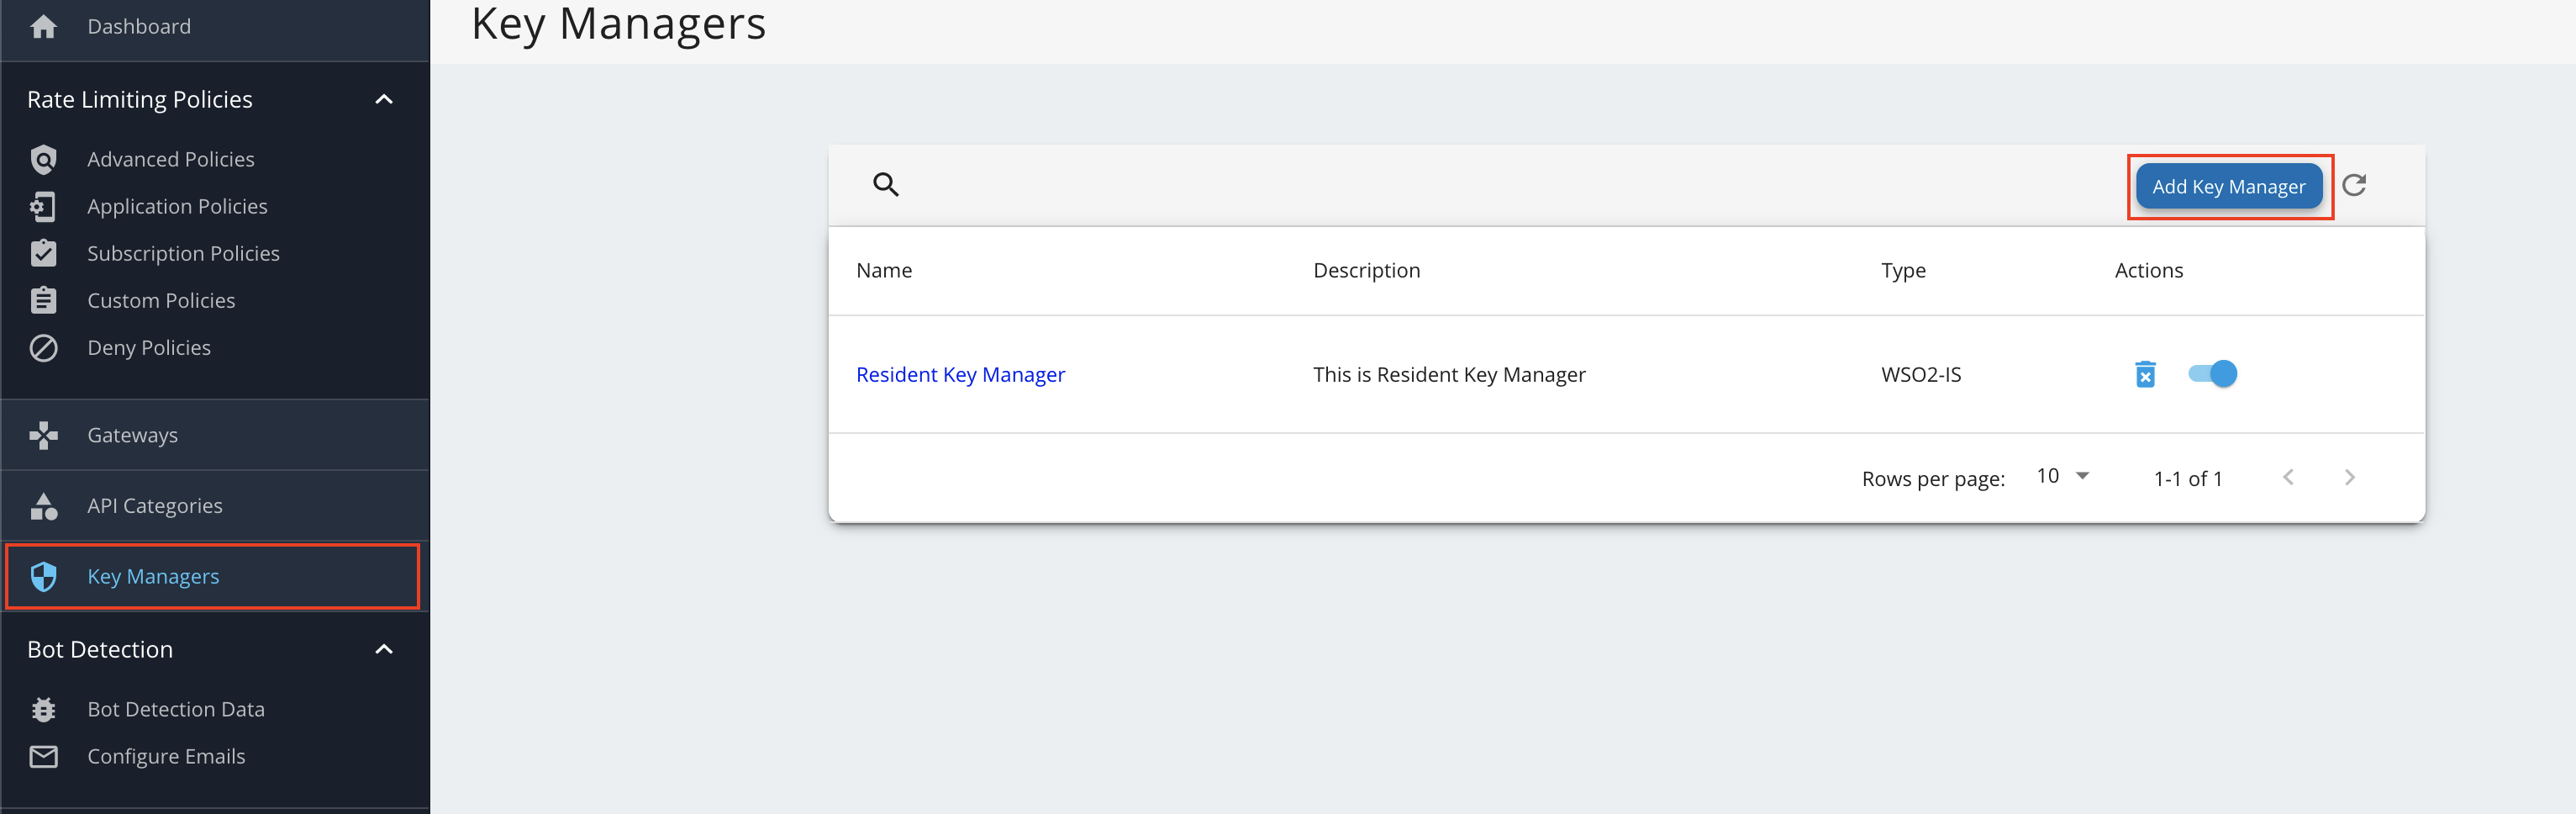
Configure WSO2 IS 7.x as a keymanager. Enable role creation in WSO2 Identity Server 7.
Use the following placeholders in the endpoints below:
Placeholder Description <WSO2_IS_HOST>Hostname of the WSO2 Identity Server used as the Key Manager (for local setups, typically localhost). Port9453is the Identity Server HTTPS port when API Manager uses9443(for example, Admin Portal athttps://localhost:9443/adminand IS Console athttps://localhost:9453/console).<IAM_SERVICE_EXTENSION_BASE>Hostname where the iam-service-extensionBallerina service is running (for local setups, typicallylocalhost).<PORT>Listen port of the iam-service-extensionservice (default9093).
You can configure well-known URL (https://<WSO2_IS_HOST>:9453/oauth2/token/.well-known/openid-configuration) and import Key manager endpoints.
Use the introspection endpoint in the iam-service-extension service to enable healthcare specific introspection response. https://<IAM_SERVICE_EXTENSION_BASE>:<PORT>/introspect.
- Go to the list of Key Managers and select Resident Key Manager.
- Disable the Resident Key Manager.