Connecting to EHR/EMR Systems
WSO2 Open Healthcare provides pre-built connectors for well-known EHR systems such as Epic, Cerner, and Athena. For other FHIR-based EHR systems, you can auto-generate connectors using the Ballerina Health Tool. For EHR systems that expose proprietary APIs, you can generate Ballerina clients from OpenAPI definitions.
Pre-built Connectors
The following pre-built connectors are available for widely adopted EHR systems:
| EHR System | Connector |
|---|---|
| Epic | health.clients.fhir.epic |
| Cerner | health.clients.fhir.cerner |
| Athena | health.clients.fhir.athenahealth |
Generating Connectors for FHIR-based EHRs
For FHIR-based EHR systems that don't have a pre-built connector, you can auto-generate one using the Ballerina Health Tool CLI, distributed via Ballerina Central.
The Health Tool's FHIR - Connector mode generates a Ballerina FHIR connector client for a given FHIR server based on its Capability Statement. The generated connector contains all the CRUD endpoints that the target FHIR server supports.
bal health fhir -m connector -o <output-directory> --capability-statement <capability-statement-url>
Refer to the Ballerina Health Tool documentation for full usage details and options.
Generating Clients for Proprietary EHR APIs
For EHR systems that expose proprietary (non-FHIR) APIs with an OpenAPI definition, you can generate a Ballerina client using the bal openapi tool.
Before generating your client, check if a pre-generated client for your API already exists in Ballerina Central. If so, you can refer to the client's API documentation for usage instructions.
bal openapi -i <openapi-contract> --mode client
For example:
bal openapi -i hello.yaml --mode client
This generates the following files:
client.bal-- the Ballerina client stubtypes.bal-- schema types from the OpenAPI contractutils.bal-- utility methods for the client stub
Example: Configuring the Epic Connector
The following example demonstrates how to configure and use the pre-built Epic connector to access patient data via Epic's FHIR interface.
Generating Certificates for Backend OAuth 2.0
To use the client_credentials OAuth 2.0 grant type for backend application access to patient information, you need a Client ID and a public/private key pair.
Create a public/private key pair using OpenSSL.
Generate the private key:
openssl genrsa -out <path_to_key>/privatekey.pem 2048Generate the public key:
openssl req -new -x509 -key <path_to_key>/privatekey.pem -out <path_to_key>/publickey509.pem -subj '/CN=myapp'Log in to Epic FHIR with your credentials.
Navigate to the Build Apps tab to create an application.
Provide the following details:
- Application Name:
myapp - Application Audience: Backend Systems
- Incoming APIs: Patient.Read (R4)
- Production JWK Set URL:
fhir.epic.com - Upload the public key created in step 1.
- Application Name:
You can further refer to the Epic documentation on creating an OAuth 2.0 App.
Setting Up the Integration Project
- Create the integration.
1. Open WSO2 Integrator.
2. Select **Create** in the **Create New Integration** card.
3. Set **Integration Name** to `EpicConnector`.
4. Set **Project Name** to `epic-connector`.
5. Select **Create Integration**.
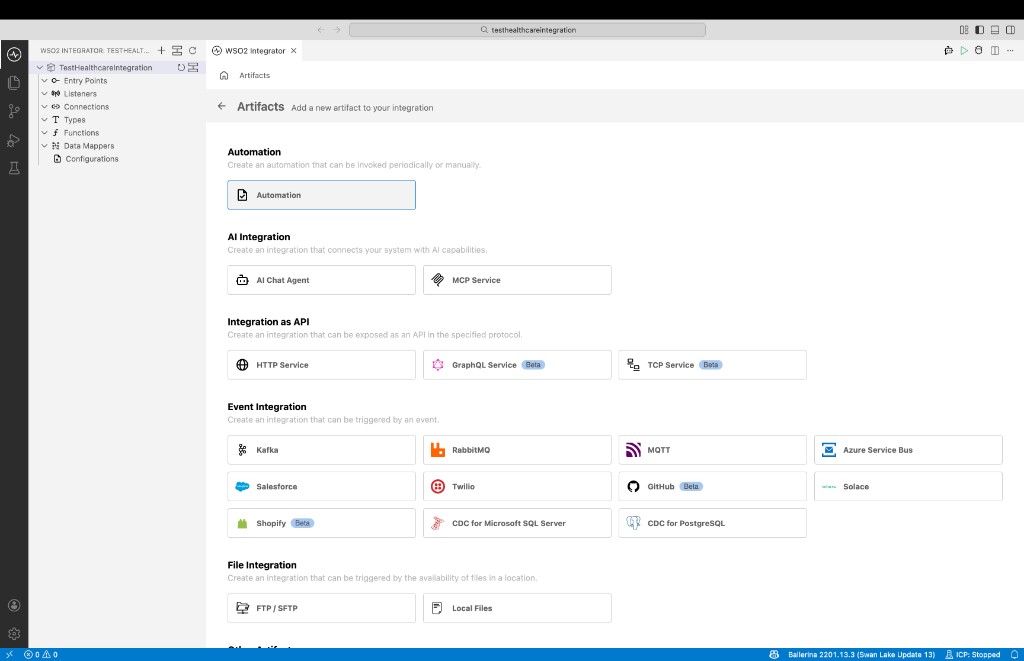
6. Select **Add Artifact** and select **HTTP Service** under **Integration as API**.
- In the
main.balfile, provide the following code. Make sure to setclientIdand the path to the private key file you obtained in the certificate generation step above.
import ballerina/http;
import ballerinax/health.base.auth;
import ballerinax/health.clients.fhir;

configurable string base = "https://fhir.epic.com/interconnect-fhir-oauth/api/FHIR/R4";
configurable string tokenUrl = "https://fhir.epic.com/interconnect-fhir-oauth/oauth2/token";
configurable string clientId = "<CLIENT-ID>";
configurable string keyFile = "resources/privatekey.pem";

// Create PKJWTAuth configuration
auth:PKJWTAuthConfig ehrSystemAuthConfig = {
    keyFile: keyFile,
    clientId: clientId,
    tokenEndpoint: tokenUrl
};

fhir:FHIRConnectorConfig epicConfig = {
    baseURL: base,
    authConfig: ehrSystemAuthConfig
};

final fhir:FHIRConnector fhirConnectorObj = check new (epicConfig);

service http:Service / on new http:Listener(9090) {

    // Get resource by ID
    isolated resource function get fhir/r4/[string resType]/[string id]() returns http:Response {

        fhir:FHIRResponse|fhir:FHIRError fhirResponse = fhirConnectorObj->getById(resType, id);
        return fhir:handleResponse(fhirResponse);
    }

}
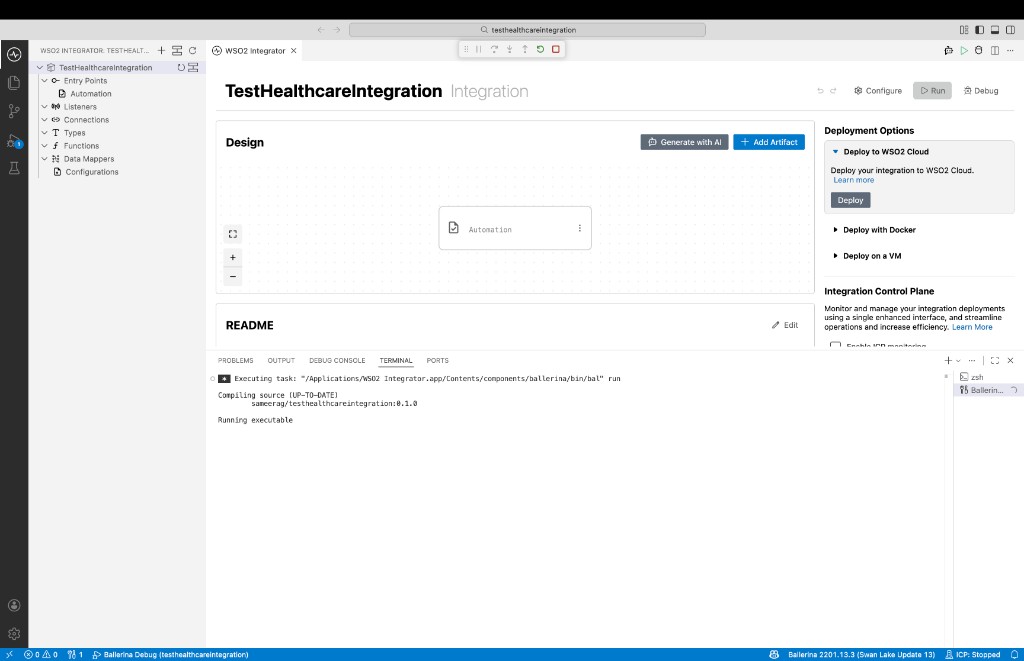
Select Run and test.
Test the service using the following curl command.
curl --location 'http://localhost:9090/fhir/r4/Patient/e63wRTbPfr1p8UW81d8Seiw3'